In Helldivers 2, chaos is everywhere—but understanding the game’s various HUD icons and interface symbols can help you stay one step ahead in the fight for Managed Democracy. Whether you’re new to the game or a returning veteran, decoding these icons is essential for maximizing mission efficiency, avoiding costly mistakes, and making sense of the constant on-screen action.
Here’s a breakdown of 12 key icons you’ll regularly encounter in Helldivers 2, and what each one actually means.
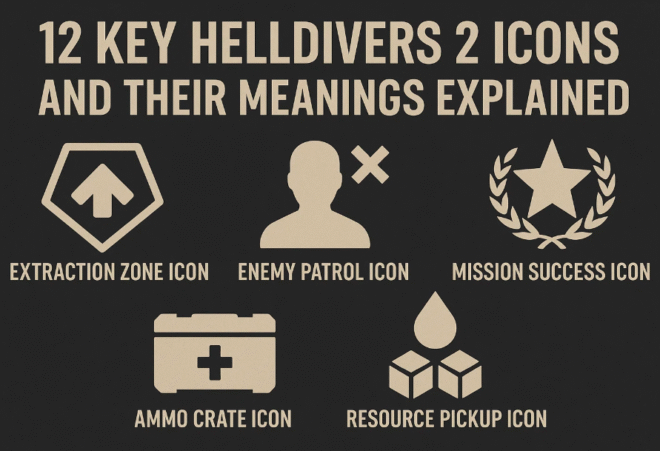
1. Extraction Zone Icon
This icon marks your evac location on the map. Once you’ve completed your objectives, you’ll need to reach this zone to call in the extraction shuttle. Keep an eye on it—it often becomes a hotspot for enemy ambushes.
2. Objective Marker Icon
Seen during active missions, this icon tells you where to go for main mission goals. It’s usually the first thing players rush toward, but be wary—it can also attract waves of enemies.
3. Enemy Patrol Icon
These icons indicate known enemy patrols. Engaging them carelessly can cause reinforcement flares to go up, leading to an overwhelming fight. It’s often smarter to avoid these until you’re prepared.
4. Strategem Activation Icon
This one appears when deploying stratagems like sentries, supply pods, or orbital strikes. Memorizing your stratagem input sequences pays off here—hesitation during a firefight can be fatal.
5. Ammo Crate Icon
Ran dry during a long bug hunt? This icon shows where supply crates are located. It’s especially useful on longer missions where resupply is limited.
6. Danger Zone Icon
When you see this icon pulsing red, it means heavy enemy presence or artillery bombardment. Use this as a signal to move with caution—or consider calling in air support.
7. Medal Icon
Helldivers 2 medals often appear in your mission results screen or next to campaign objectives. These medals are your main progression and currency system. If you’re looking to gear up faster, some players look into options to buy Helldivers 2 medals to save time, especially during limited-time events.
8. Mission Success Icon
Appearing post-extraction, this indicates that all primary objectives were completed and the mission was a success. Sometimes, it even comes with a bonus if you aced every secondary task.
9. Friendlies Marker Icon
This icon lets you identify teammates and their relative health and status. Vital for coordinating, especially when someone goes down and needs a revive.
10. Enemy Spawn Icon
Watch for this icon—when it appears, it means bugs or bots are about to burst out of the ground or drop from orbit. Preparing defenses in advance can turn the tide of battle.
11. Weapon Cache Icon
Some maps contain optional weapon caches marked by this icon. These may hold alternate firearms or mission-critical items. They’re not always necessary, but can give your team a serious edge.
12. Resource Pickup Icon
This icon signals resources such as samples or bonus objectives. Collecting them can yield research upgrades or medals. For those grinding progression, especially when you see Helldivers 2 medals for sale or promotions on platforms like U4GM, grabbing every last collectible helps stretch your in-game economy.
Understanding these 12 icons will help you read the battlefield more clearly, react faster, and coordinate more effectively with your squad. And while some players choose to grind their way to gear unlocks, others prefer more efficient options like looking into Helldivers 2 medals for sale from reputable marketplaces such as U4GM—just make sure you’re always prioritizing security and game integrity.
Whether you’re defending Super Earth or just farming medals, knowing what these symbols mean is a tactical advantage every Helldiver should have.